Transforming an Old Metal Bucket into a Charming Flower Pot
Repurposing old household items is not just environmentally friendly—it’s a chance to add a personal touch to your home and garden decor. In this guide, I’ll walk you through the steps to transform a worn-out metal bucket into a stylish, rustic flower pot using jute rope and a dash of creativity.
August 22, 2024
/ By Handy Rachel
Step 1: Preparing the Bucket
Start by thoroughly cleaning your old metal bucket. Use soap, water, and a scrubbing brush to remove any dirt, rust, or grime. For particularly stubborn rust, a metal brush or steel wool may be needed. Once the bucket is clean, make sure it’s completely dry before moving on to the next step.
Optional: For a more polished look, consider painting the bucket. A coat of white or pastel paint can soften the metal’s appearance, while darker shades like black or navy can create a more dramatic, industrial effect. Be sure to use a paint designed for metal and outdoor use if the pot will be kept outside.
Step 2: Creating a Drainage System
Proper drainage is essential for healthy plants. If your bucket doesn’t have holes in the bottom, use a drill to create a few evenly spaced holes. This step is crucial to prevent waterlogging, which can damage plant roots.
Step 3: Wrapping the Bucket with Jute Rope
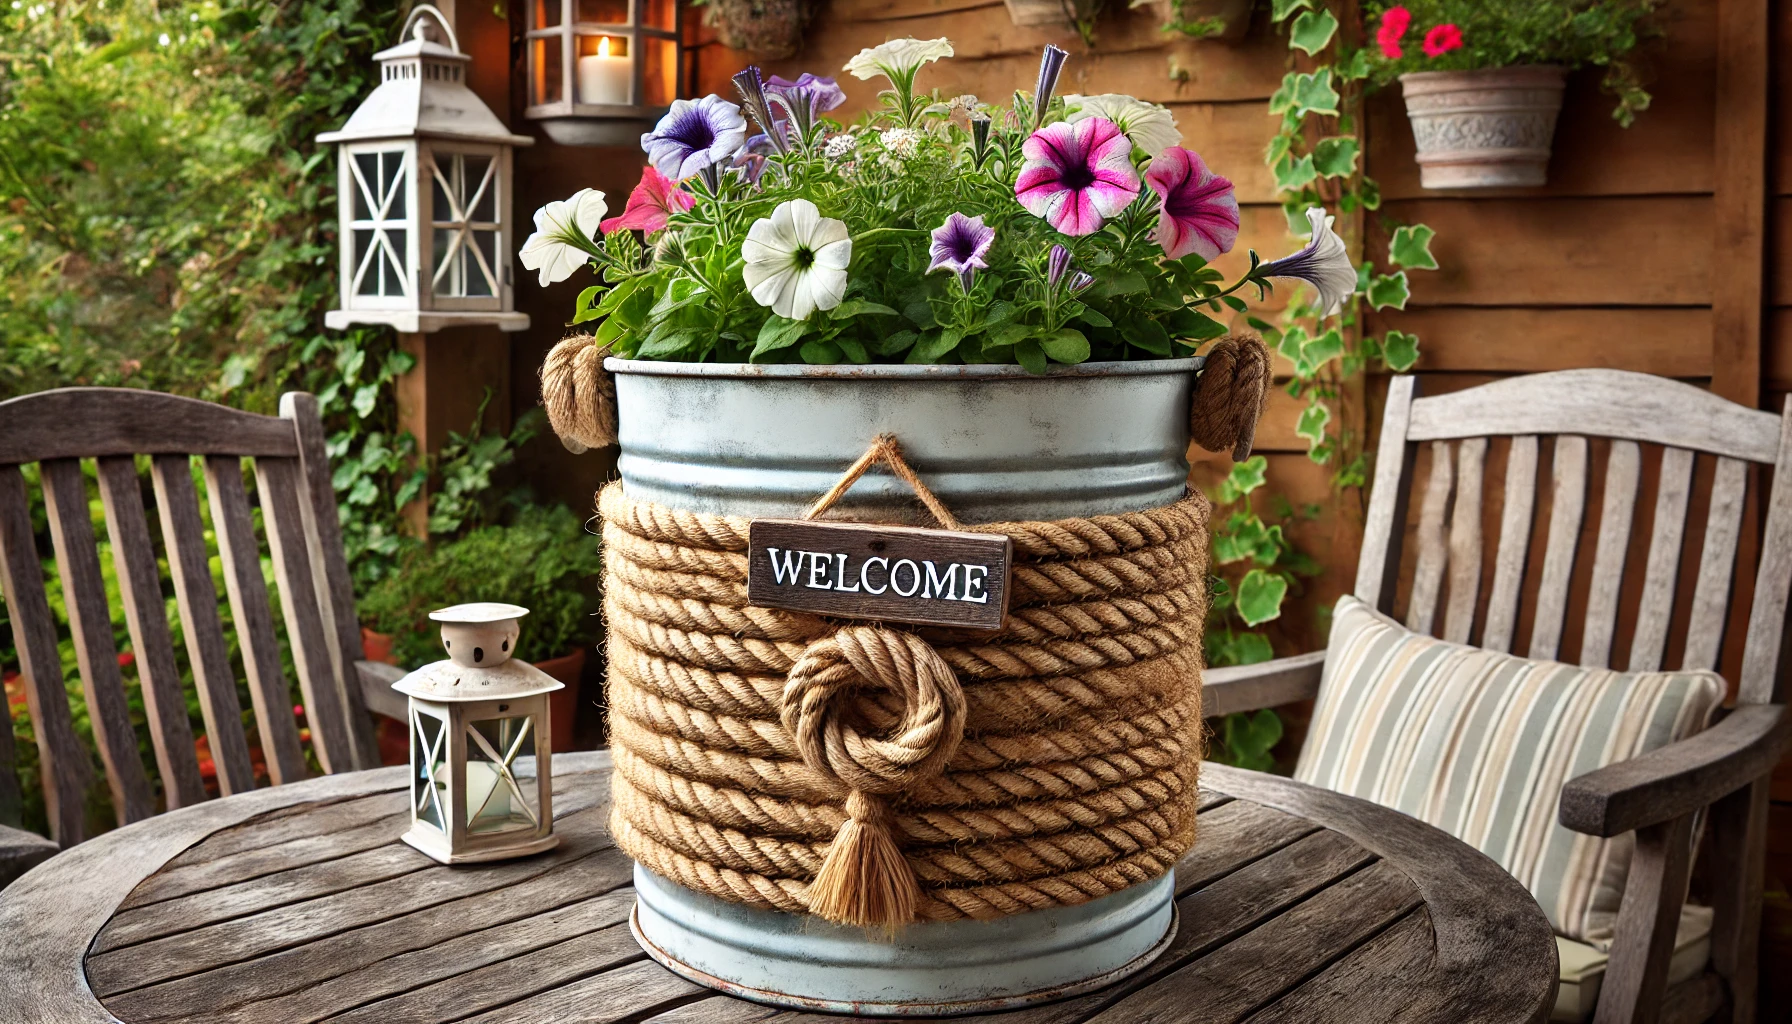
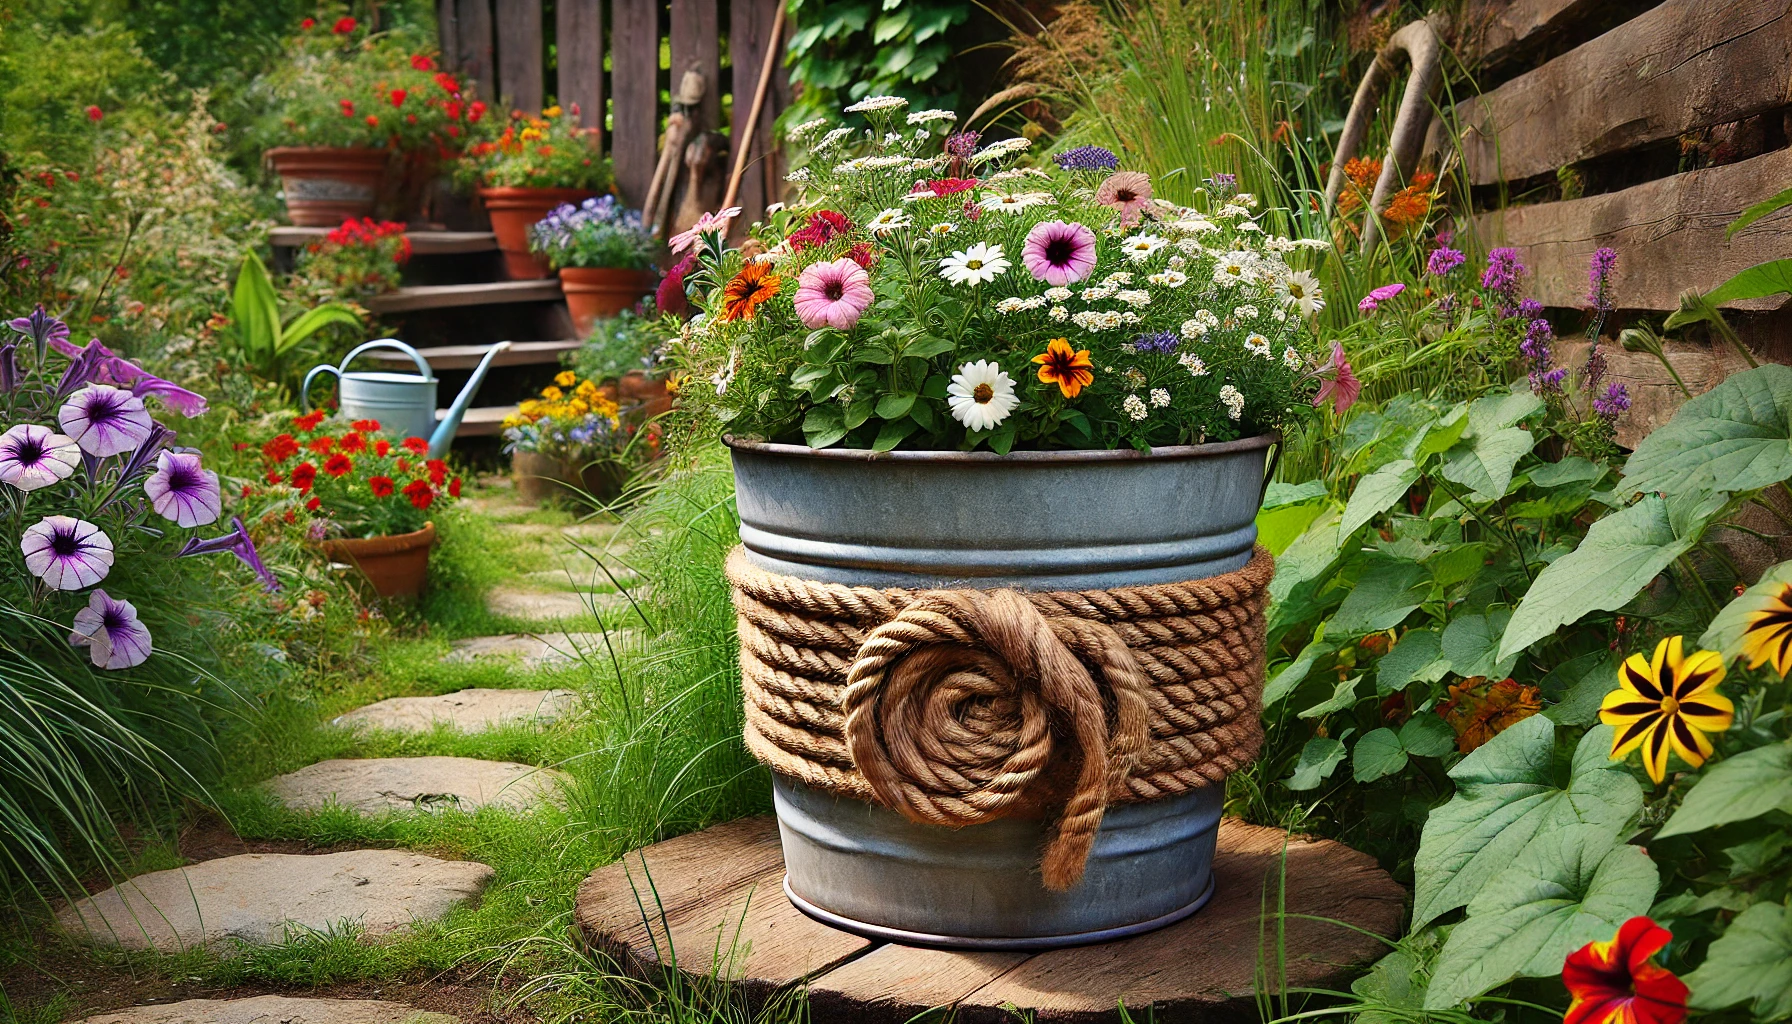
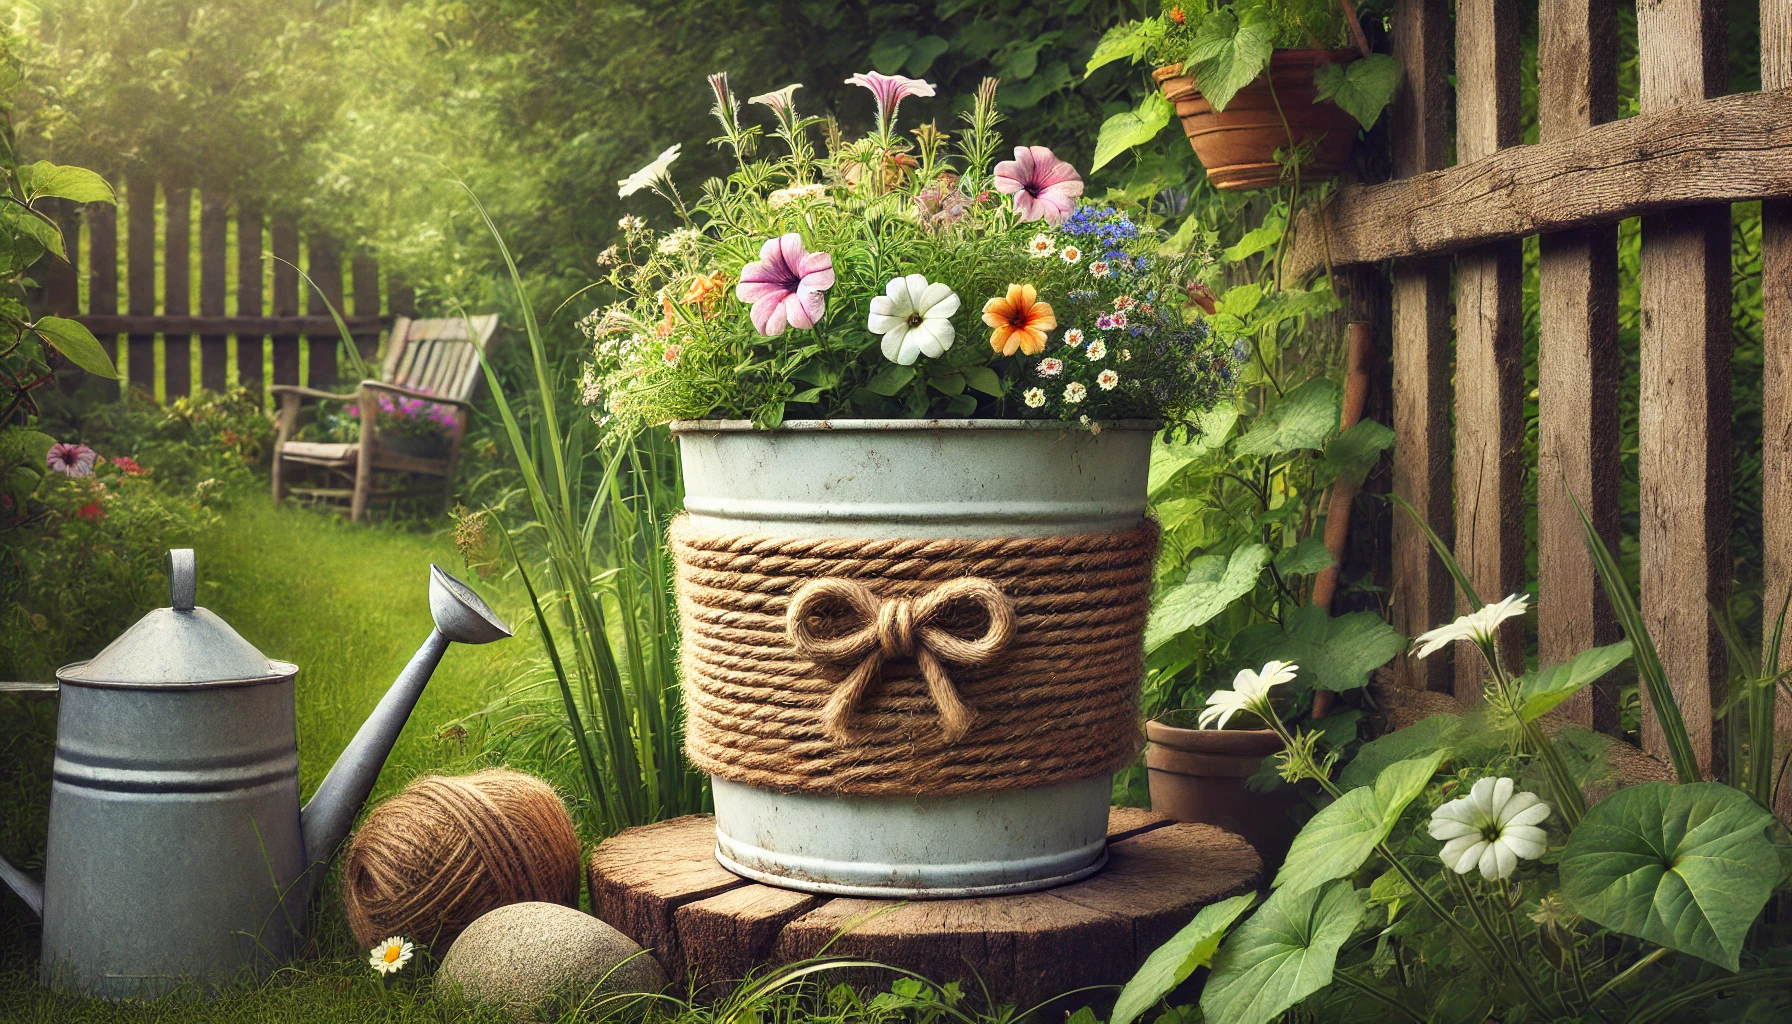
Now comes the fun part- decorating with jute rope. Decide how much of the bucket you want to cover with the rope. Many people choose to cover the bottom half, but you can wrap the entire bucket for a more textured look.
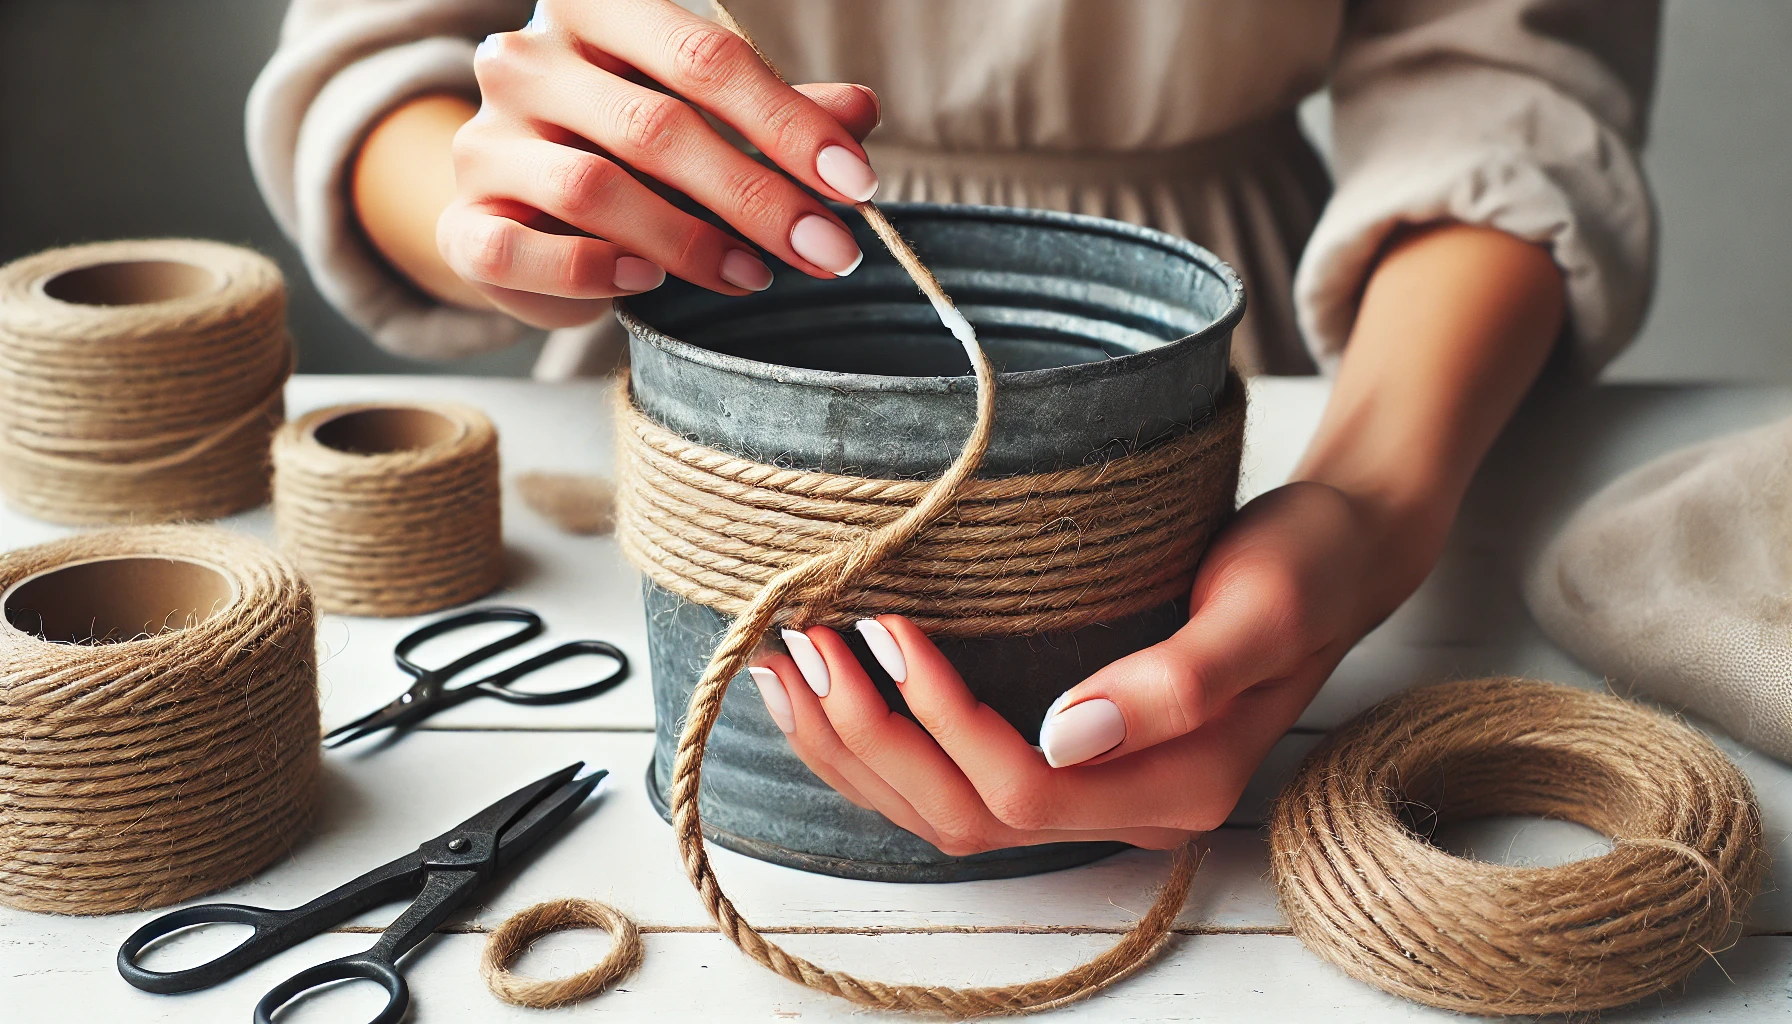
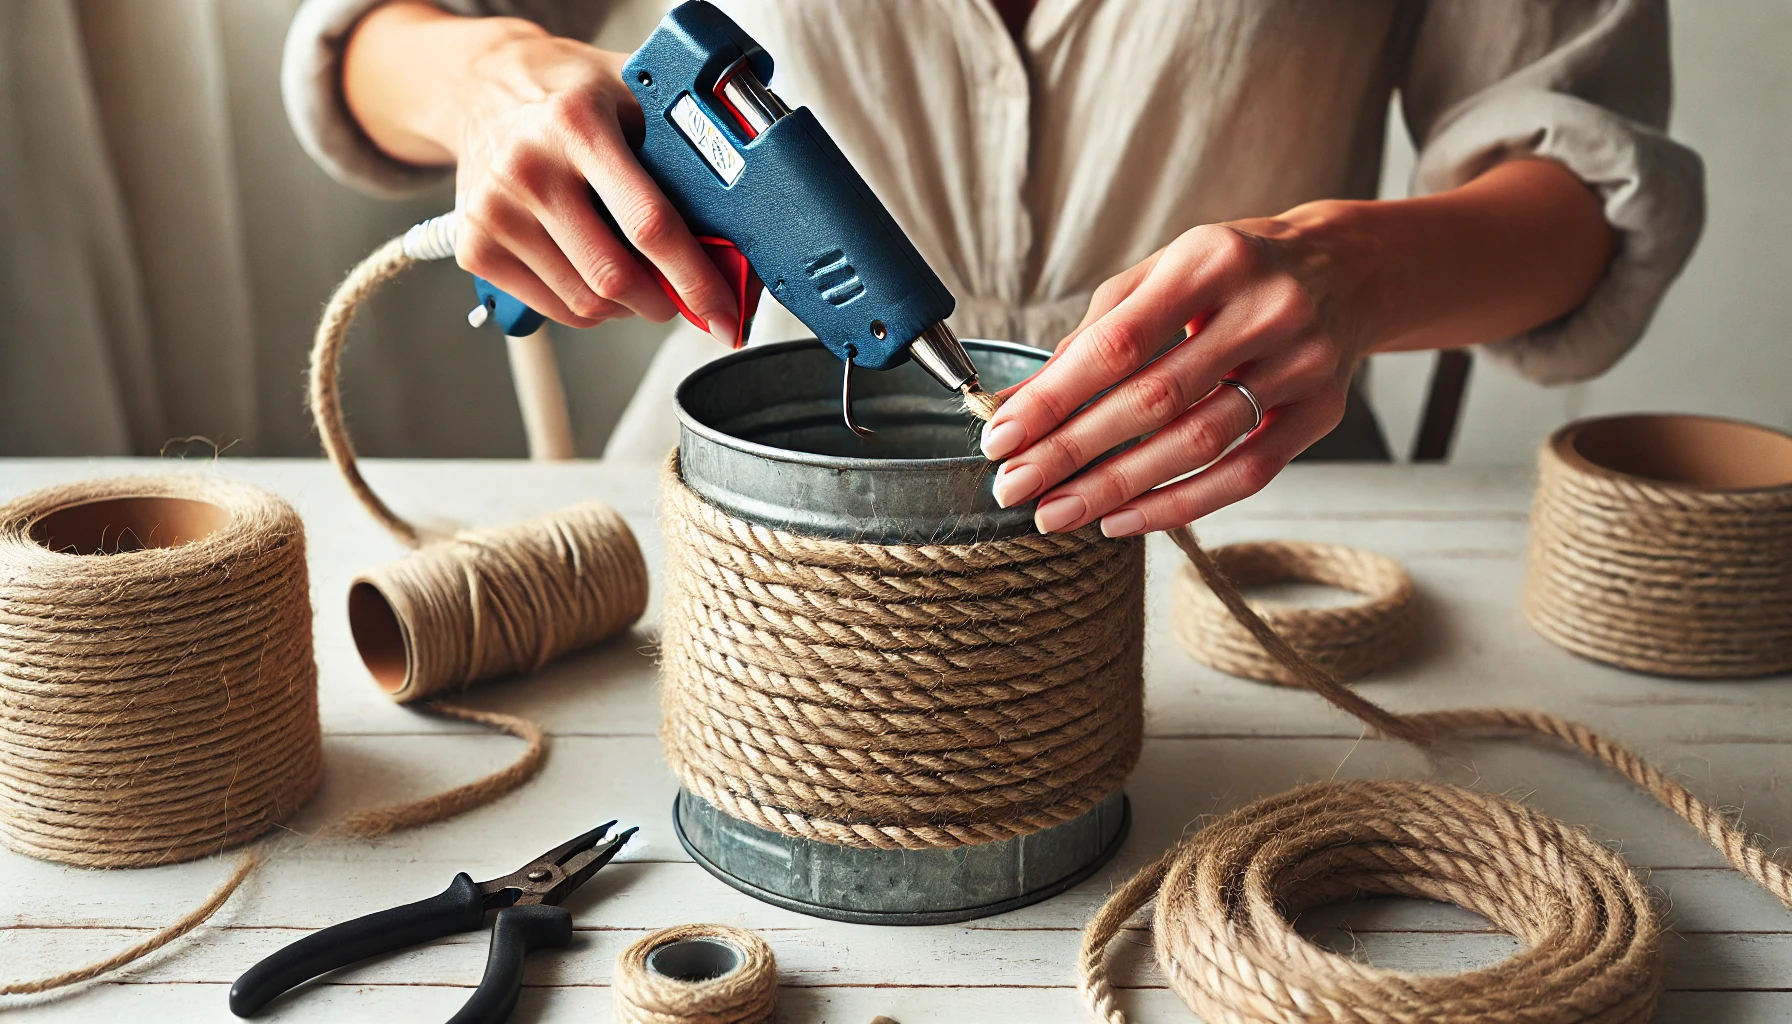
• Begin at the base: Secure one end of the jute rope with a dab of hot glue at the bucket’s base. Start wrapping the rope tightly around the bucket, keeping each row close to the last for a neat appearance.
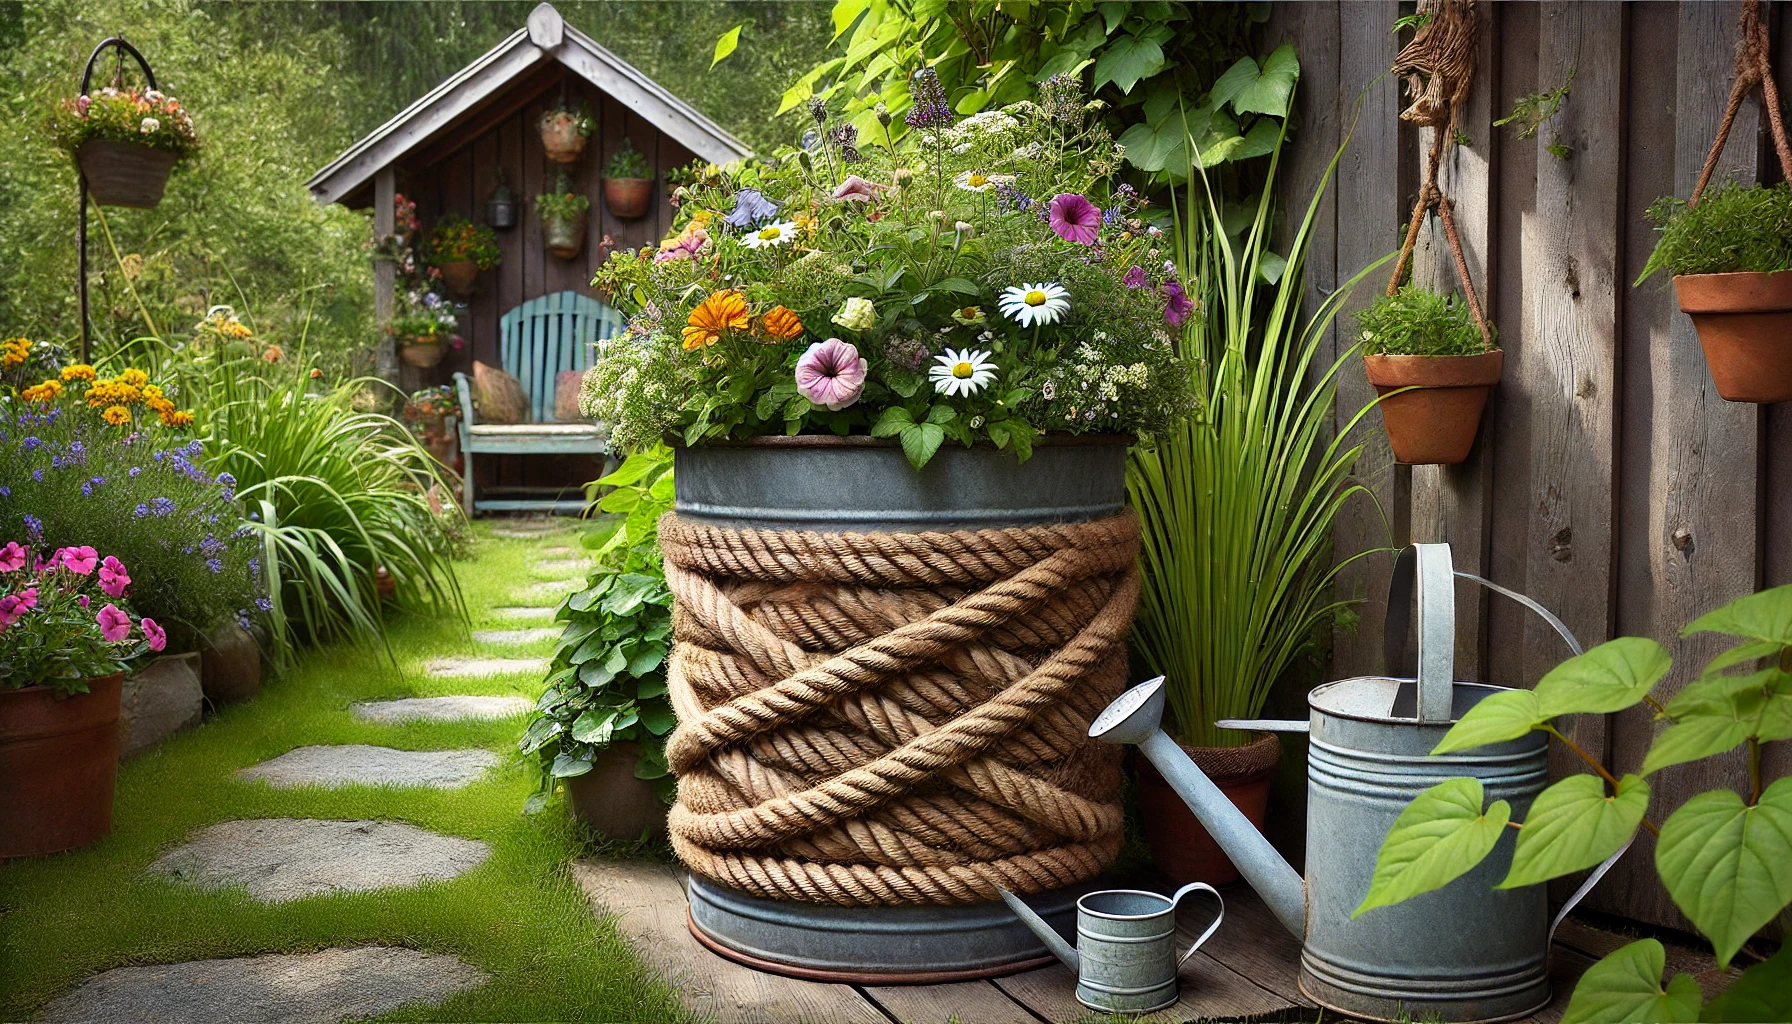
• Create a pattern: For added visual interest, try a crisscross or spiral pattern as you wrap. Overlapping the rope slightly or intentionally crossing rows at intervals can achieve this effect.
• Securing the rope: Continue wrapping until you reach your desired height. Secure the end of the rope with another dab of hot glue, or tie it off with a knot for a more rustic, handmade look. For thicker rope, ensure that each layer is well-adhered with glue to prevent unraveling over time.
Step 4: Planting the Flowers
With your beautifully wrapped bucket ready, it’s time to plant. Choose a mix of flowers that suit the size of your bucket and complement its rustic charm. Petunias, marigolds, and daisies are excellent choices for a burst of color. Fill the bucket with well-draining potting soil, leaving enough space for the roots of your chosen plants. Gently plant each flower, pressing the soil around them to secure them in place.
Step 5: Finding the Perfect Spot
The final step is to find the perfect spot for your new flower pot. Place it where it can be admired-along a pathway, near your front door, or nestled among other potted plants. The rustic charm of the jute-wrapped bucket will add character and warmth to any outdoor space.
Conclusion:
Repurposing an old metal bucket into a flower pot is a simple, rewarding project that brings a touch of rustic elegance to your home and garden. By following these steps, you can create a unique and personalized piece of decor that’s both beautiful and functional. So, next time you come across an old bucket, think twice before discarding it-there’s a world of creative possibilities waiting to be explored.
Happy crafting!
